The appeal of Origami
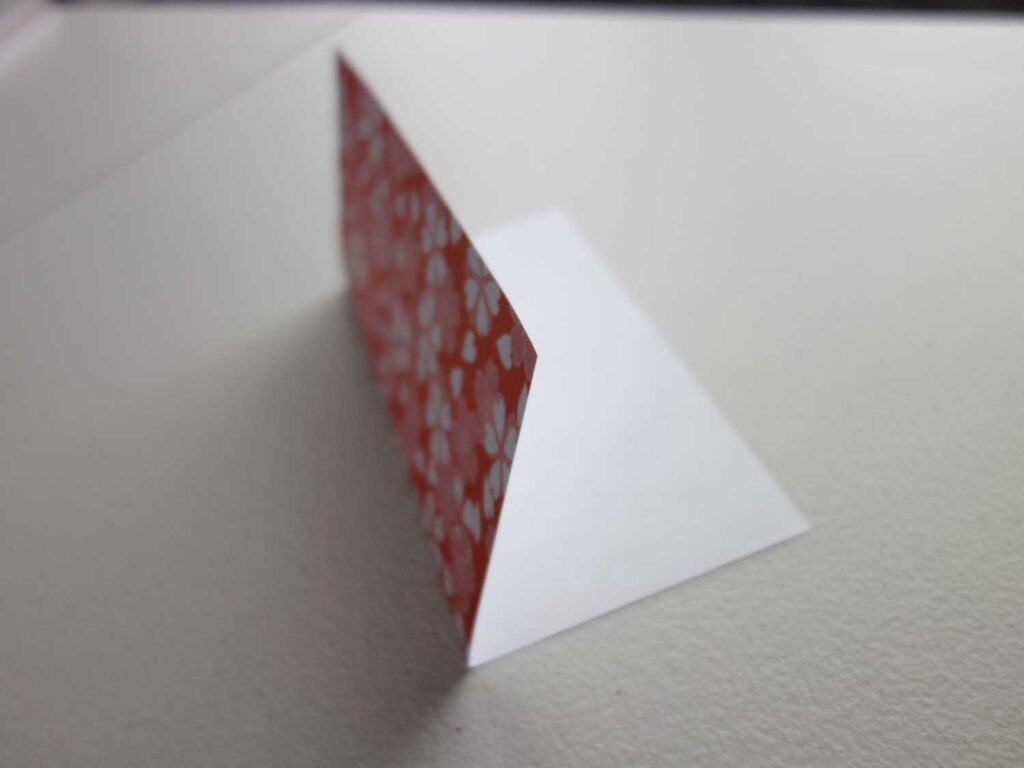
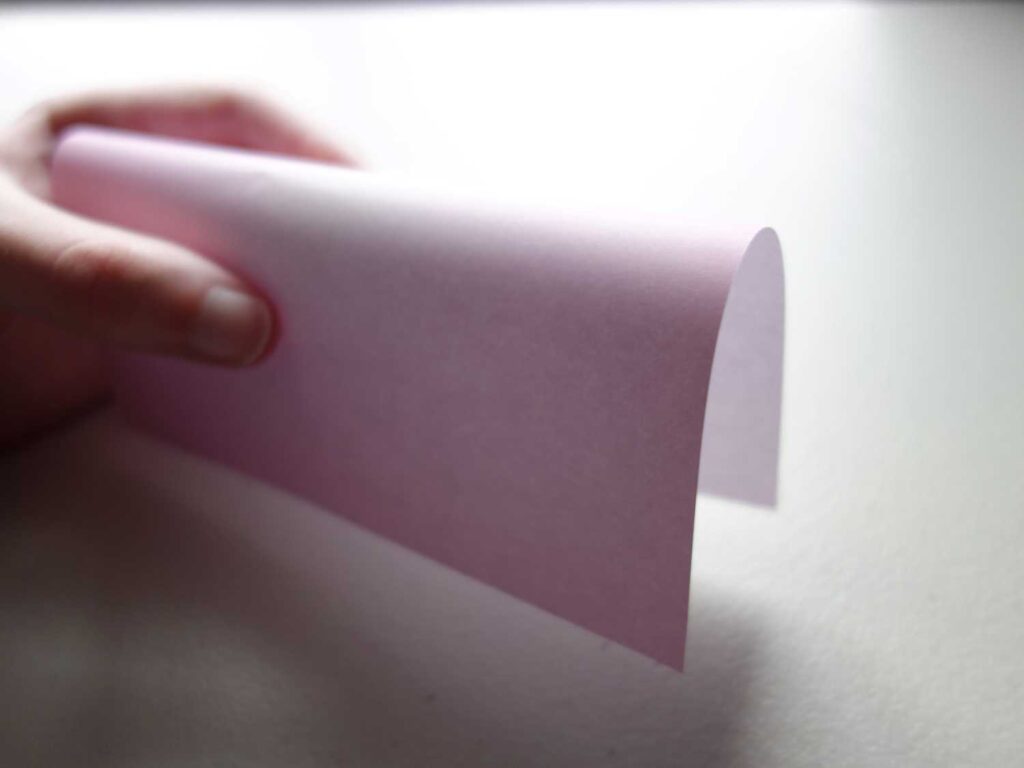
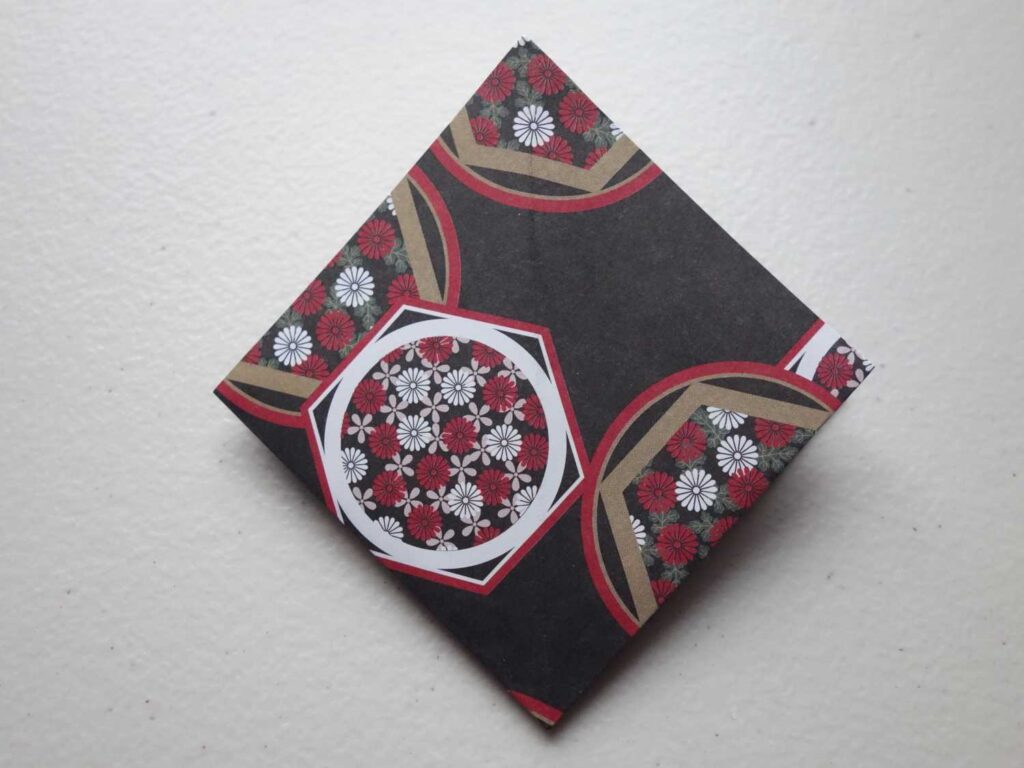
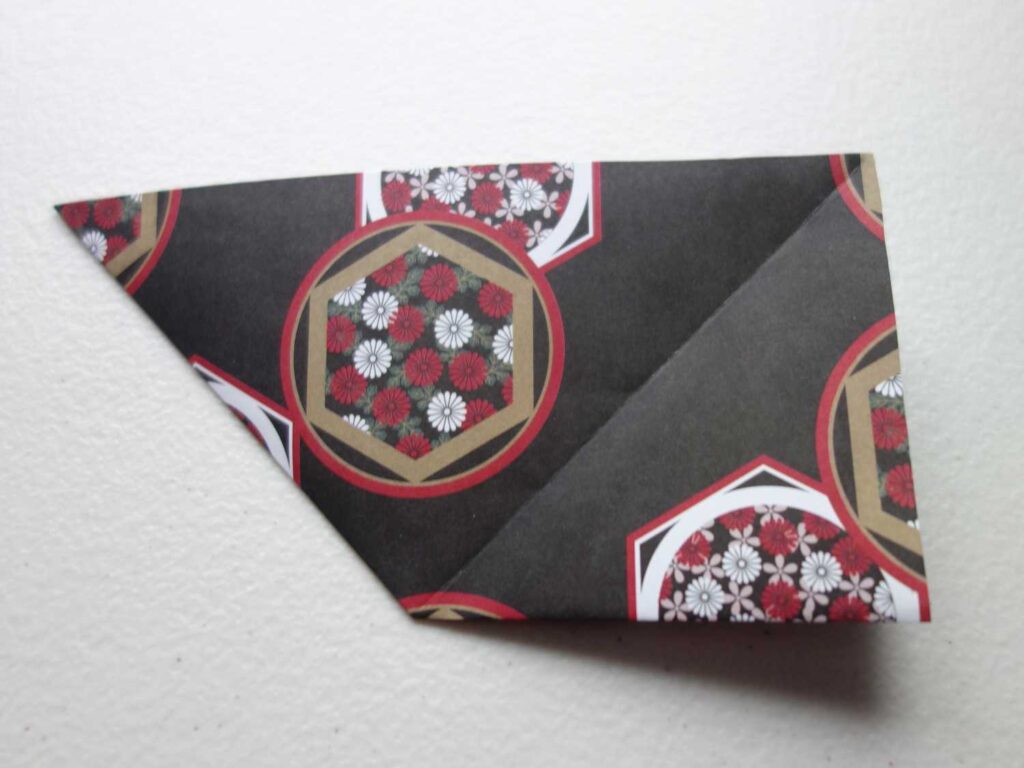
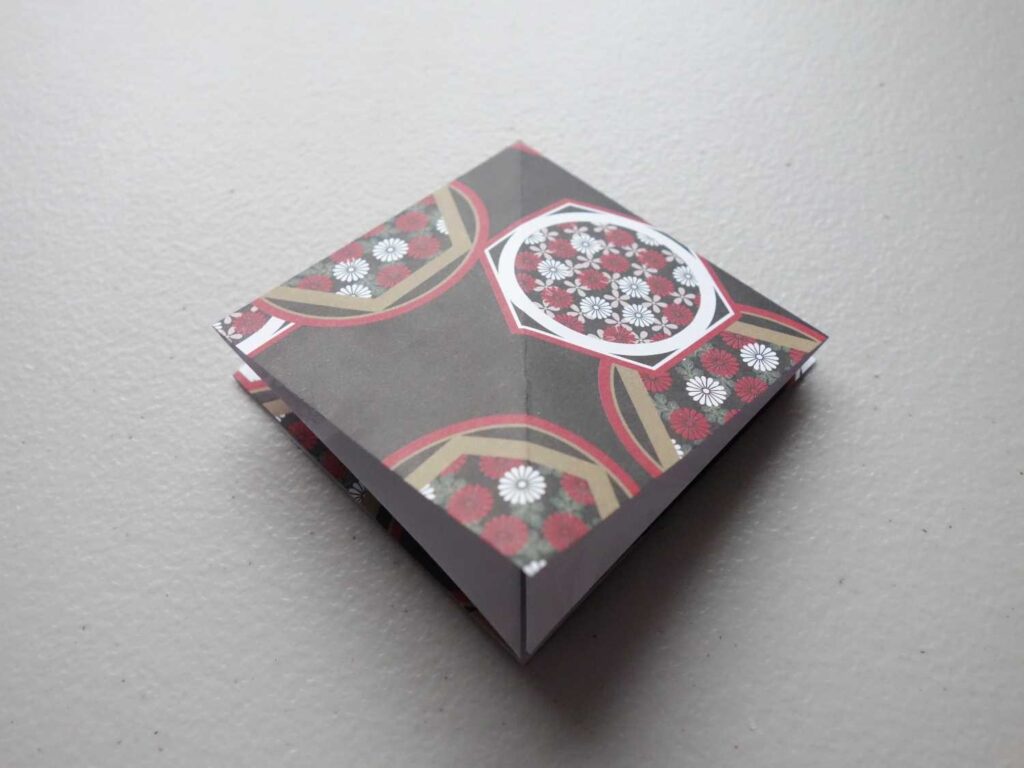
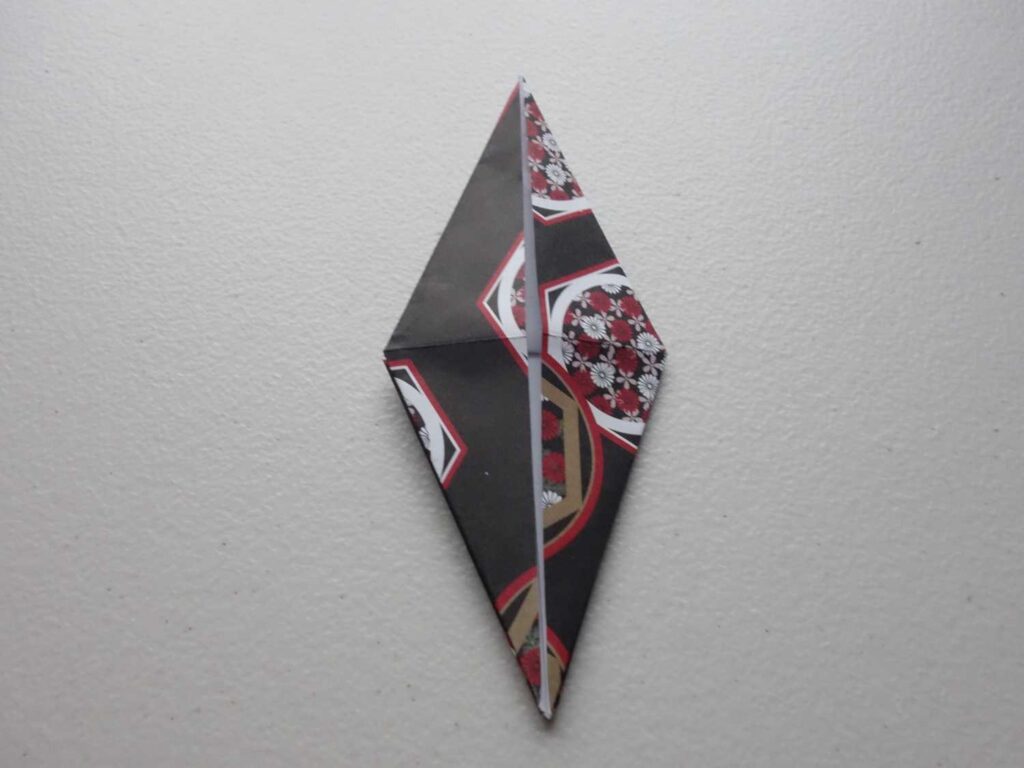
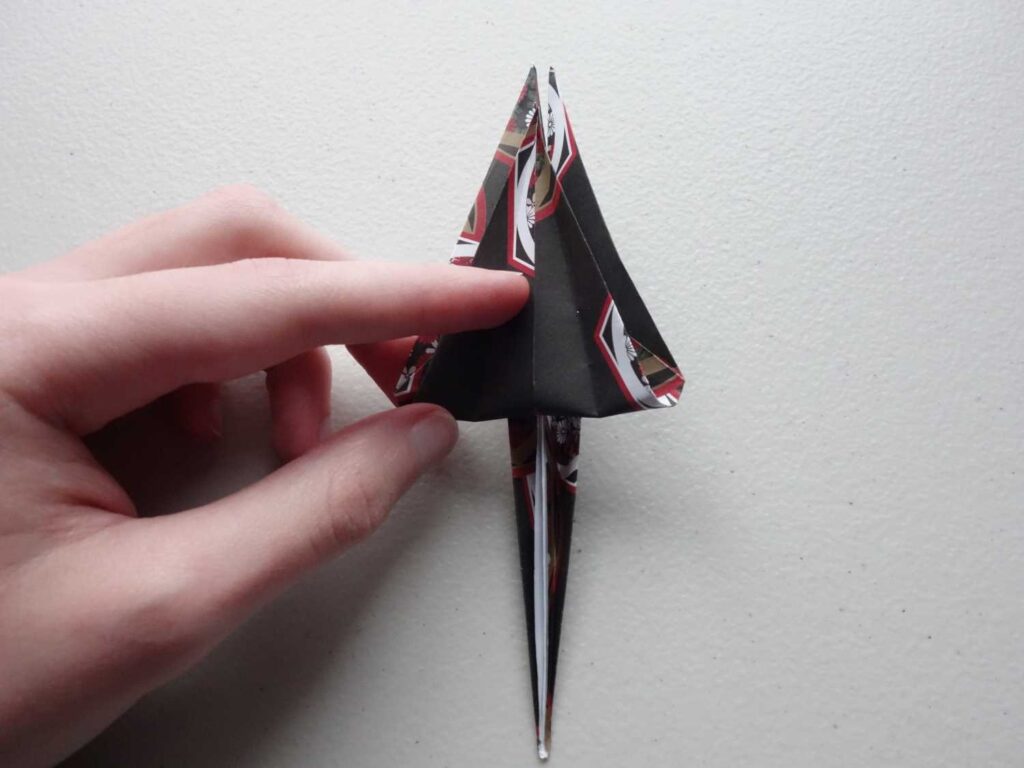
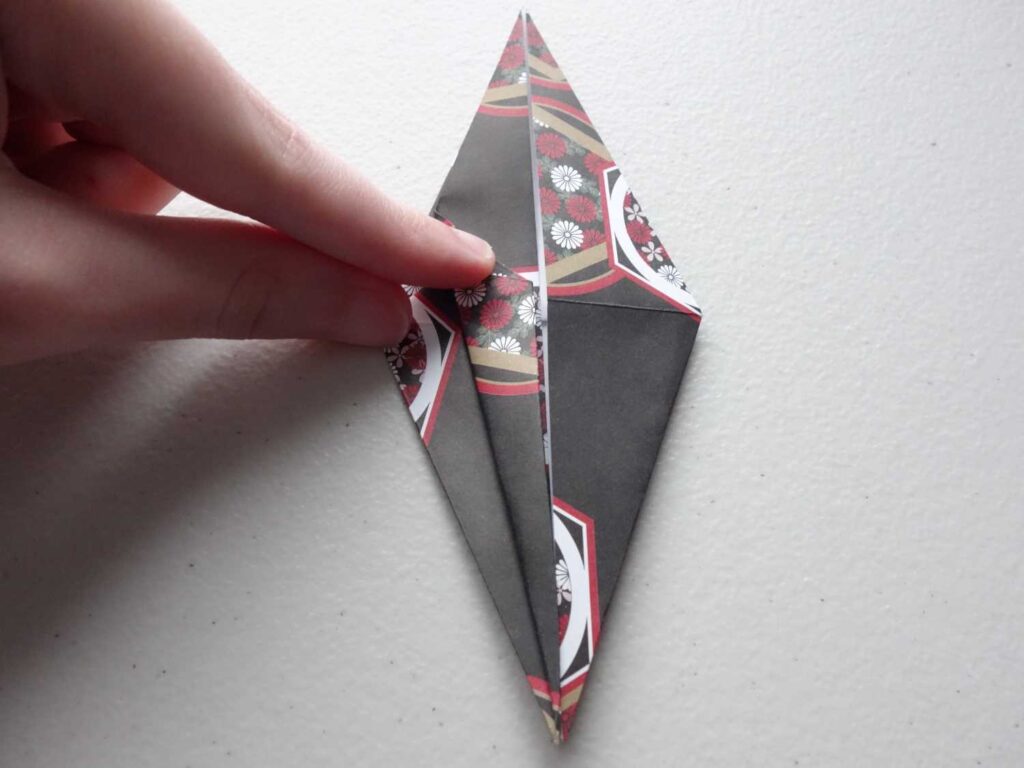
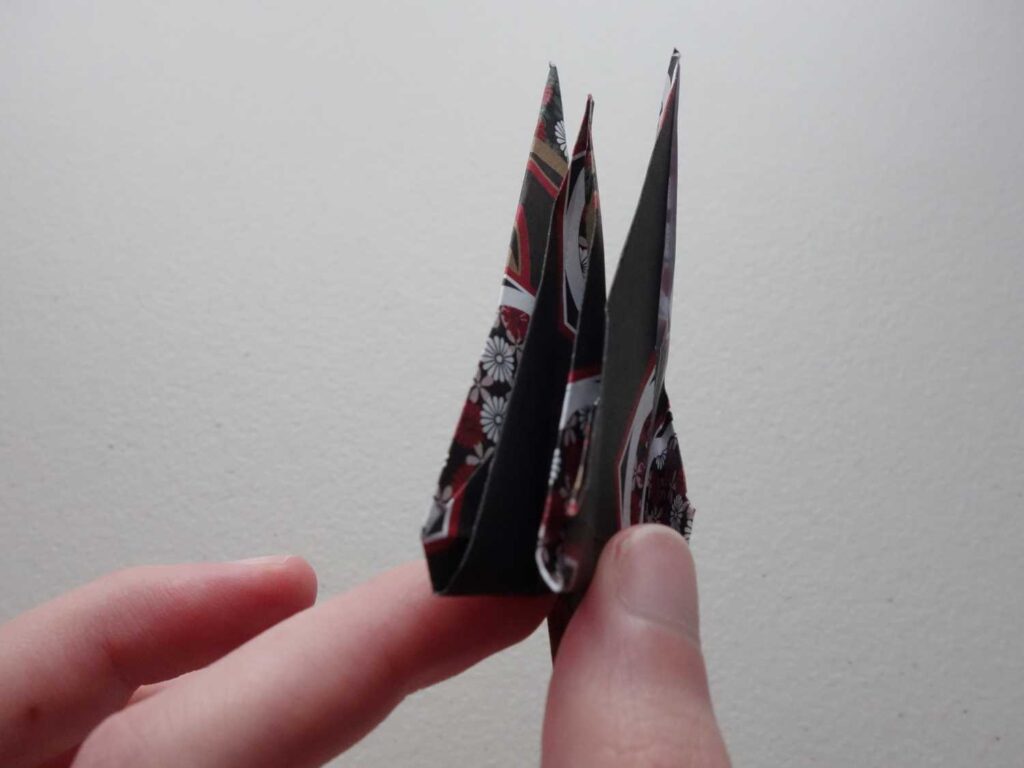
Seeing a solitary piece of paper as a means of artistic expression might sound a little peculiar, but that is essentially the thought that brought Origami into existence; It’s a process that uses Japanese paper folding techniques to turn a flat sheet of paper into 3d objects, ornaments, and decorations.
Of all the Japanese arts and crafts that exist, it is Origami that has become the most widespread outside Japan. It is mostly down to how easy it is to get started (most people reading this will have paper within arms reach), however it’s also the progression and the possibilities available for different skill levels — Origami is the definition of ‘easy to learn, difficult to master’.
Oversimplification aside, learning how to be creative with paper folding has become easy with many tools and resources readily available, as such, now is a good time as any to find out a bit more and give it a go.
Quick selection
Getting started
Grabbing any piece of paper theoretically can get you going with this paper folding craft, however, there are a few suggestions to help really get off to a good start.
- Get the right sort of paper.
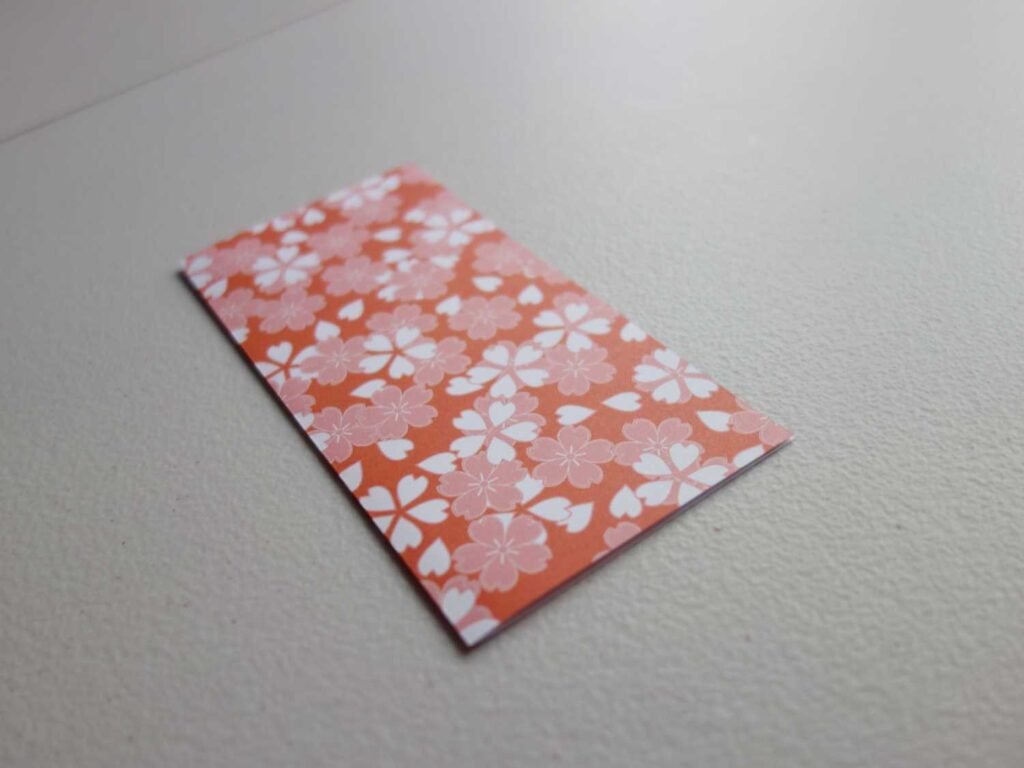
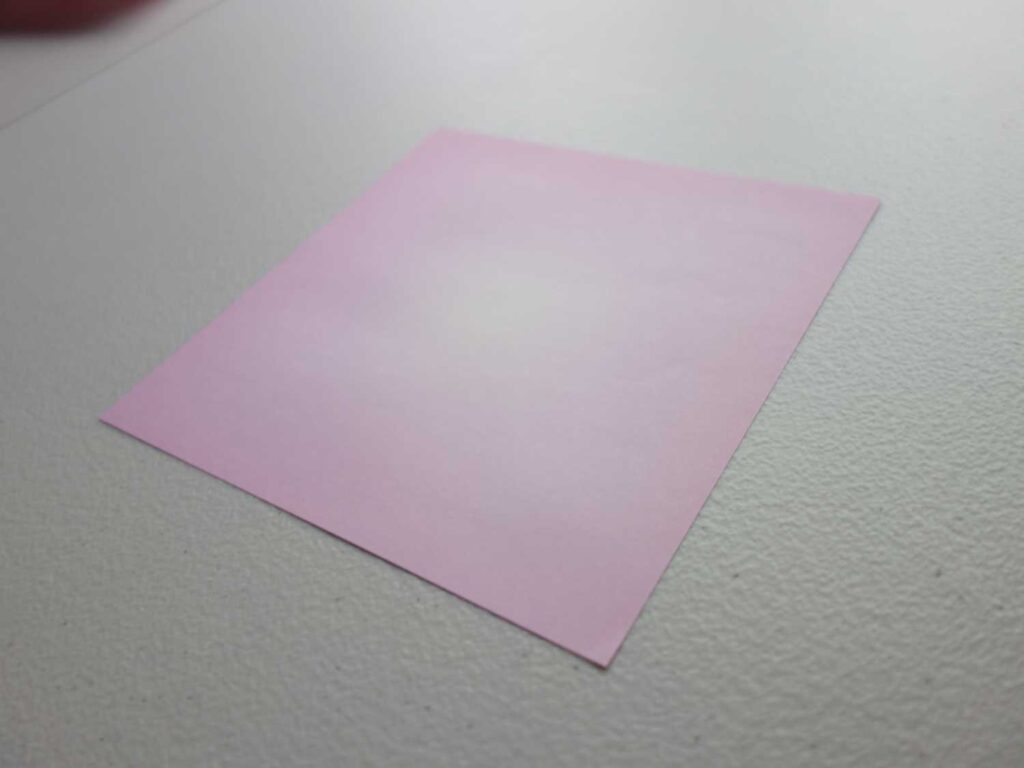
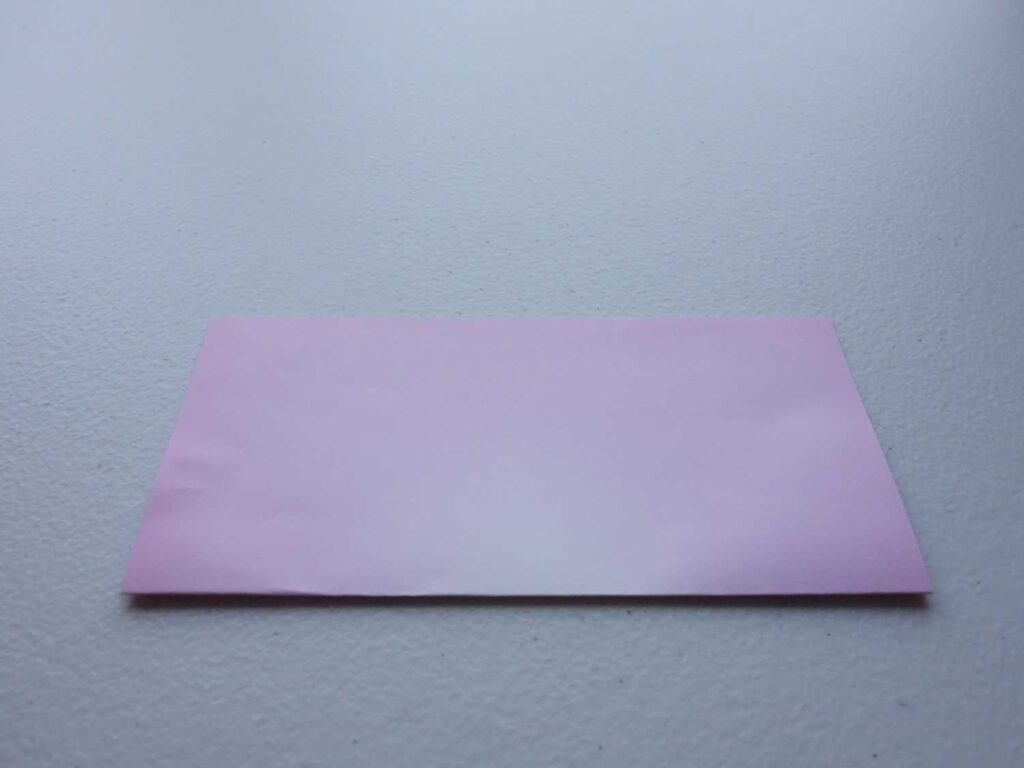
Much of the origami that you will make will require you to start off with a square sheet of paper. You can easily cut down a standard sheet of A4 as the most basic solution, although getting hold of some Origami paper shouldn’t be too difficult either from a craft shop or even some standard superstores etc. GSM (paper thickness) is also something to bear in mind — try not to go over 100 gsm, 50 – 80 will be ideal.
- Follow a guide at first.
Now that you have the correct paper, what do you do with it? In the beginning it will be best to find some step by step guides for specific objects. Randomly folding and hoping for the best won’t be fun. The good news is there are a lot of inexpensive books, and hobby kits available; youtube can be another great free resource for the early days.
- Take care and your time.
Origami may be just about paper folding but doing so without care and attention will affect your outcome. Precision is key with Origami, taking the time to correctly align edges and considering folds before attempting is something that will become apparent quickly. Even slight mis-folds can affect progress in the later stages of a build; if it’s a complicated model, multiple mishaps can really add up.
Moves and techniques
Getting to grips with some of the terminology can take a bit of figuring out. With that in mind here are a few common folds with the associated names.
Be sure to click on each image to see a bigger picture of what’s going on.
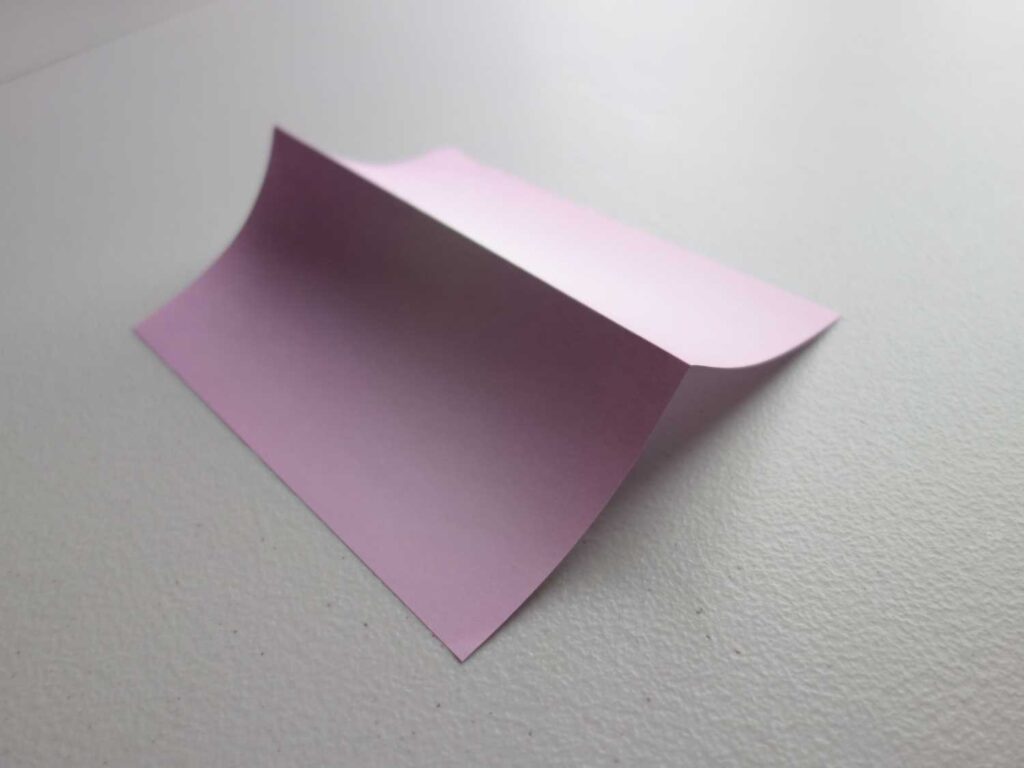
Valley fold
A valley fold is the easiest fold in Origami. Simply place a piece of paper flat on a surface, take an edge, lift and fold forwards. This creates a crease into the paper or ‘valley’ hence the name.
Mountain fold
A mountain fold is opposite to a valley fold. Lift the sheet of paper into the air, take an edge and fold downwards. This creates a peak or ‘mountain’.
Now you may notice that a Valley and Mountain fold are essentially the same thing depending on the orientation of the paper. Flip the paper over and you have the opposite of each fold. The reason for this distinction is that orientation in Origami is incredibly important and flipping and rotating should be kept to an absolute minimum unless otherwise stated in the step-by-step. For this reason Valley and Mountain represent two different movements.
Pleat fold
A pleat fold is a combination of a Valley and a Mountain fold. First make the Valley fold so it folds away from you (forward), then take the resulting edge furthest from you and make a mountain fold, folding it back towards you making a different crease line.
Square fold (pocket version)
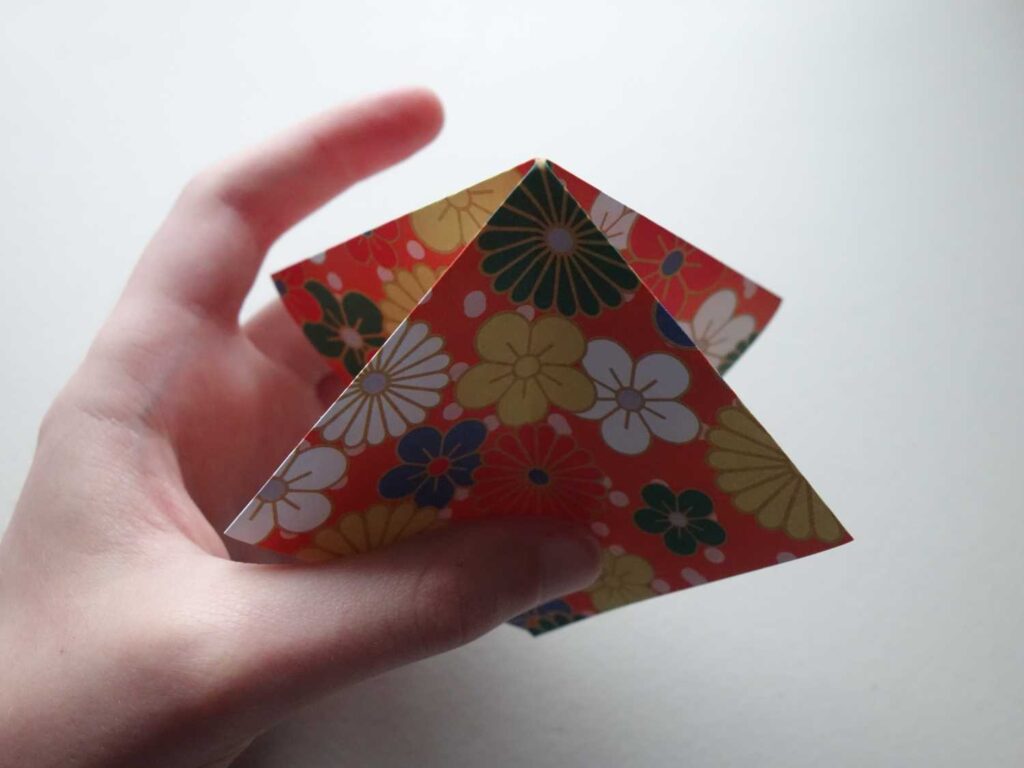
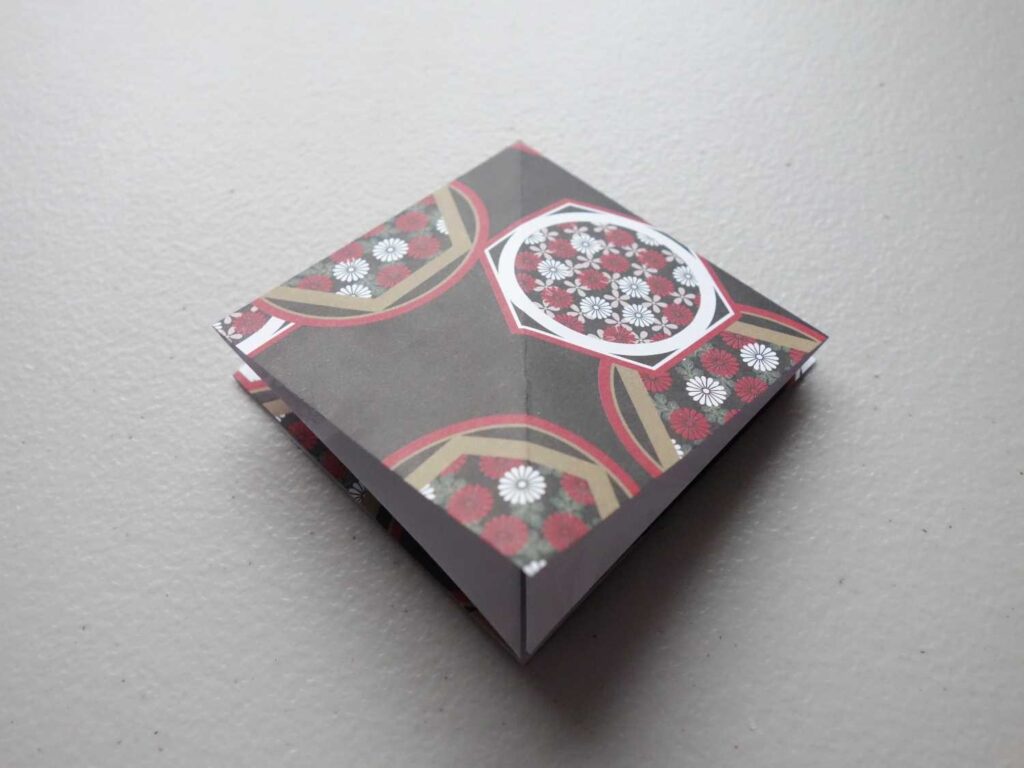
A square fold is an essential part of Origami and forms a base for many models. There appears to be two ways to perform a square fold. This pocket version is my preferred way as it incorporates other techniques such as a Squash fold as well as not requiring to unfold the paper.
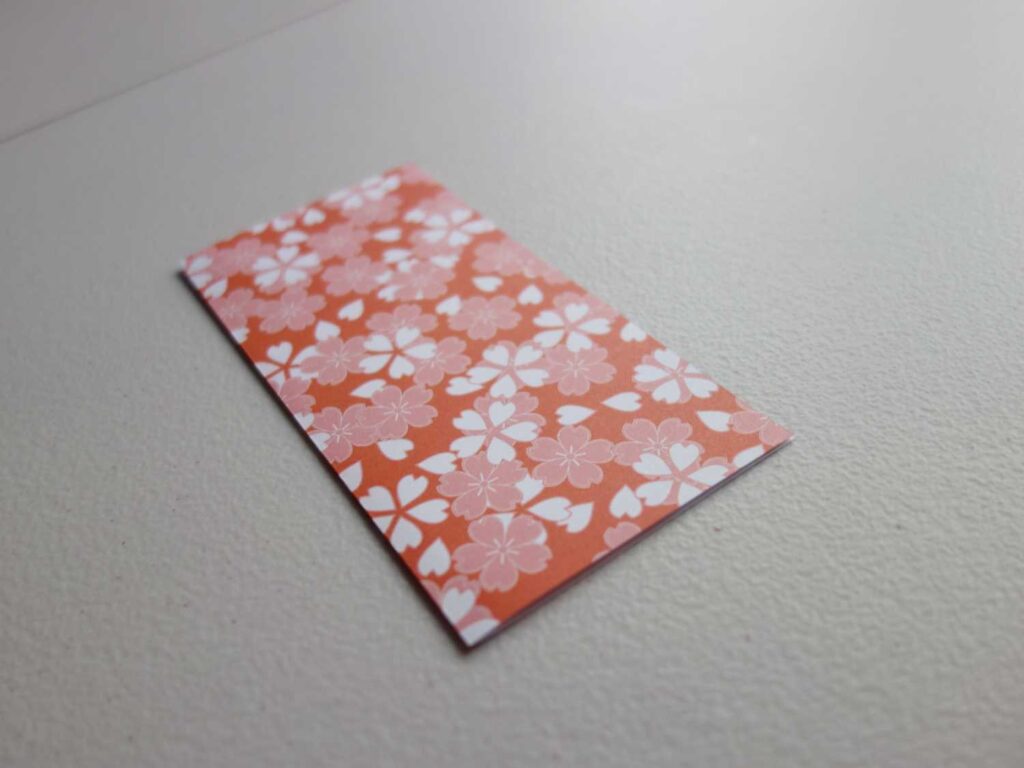
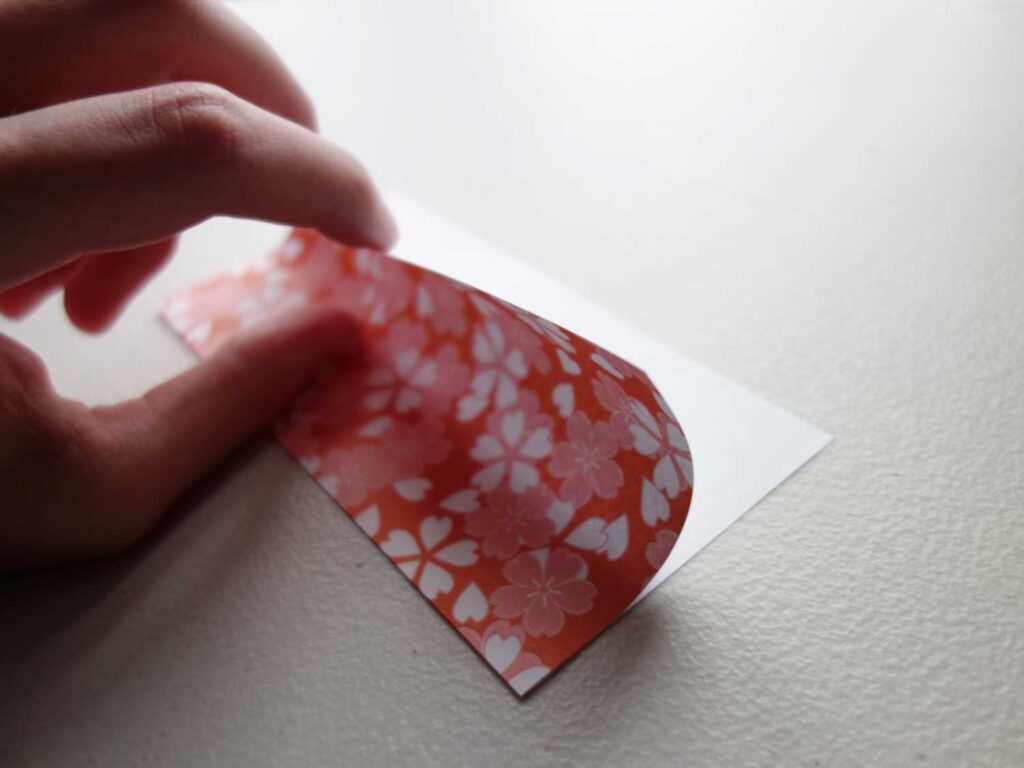
Start with the paper white side up.

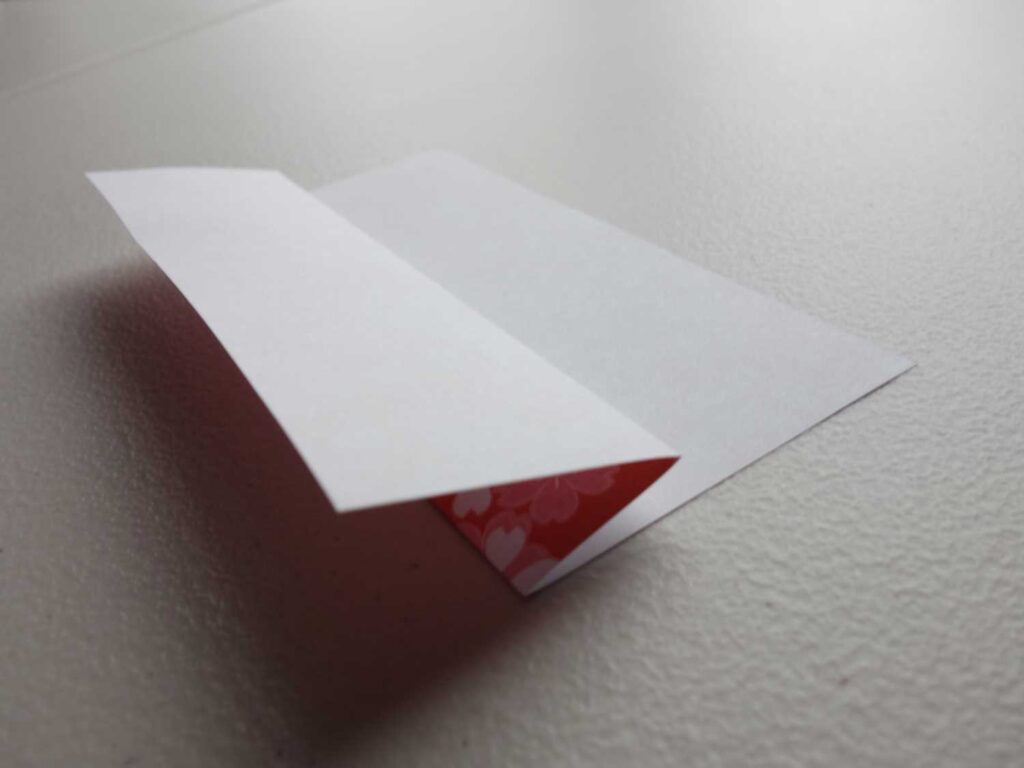
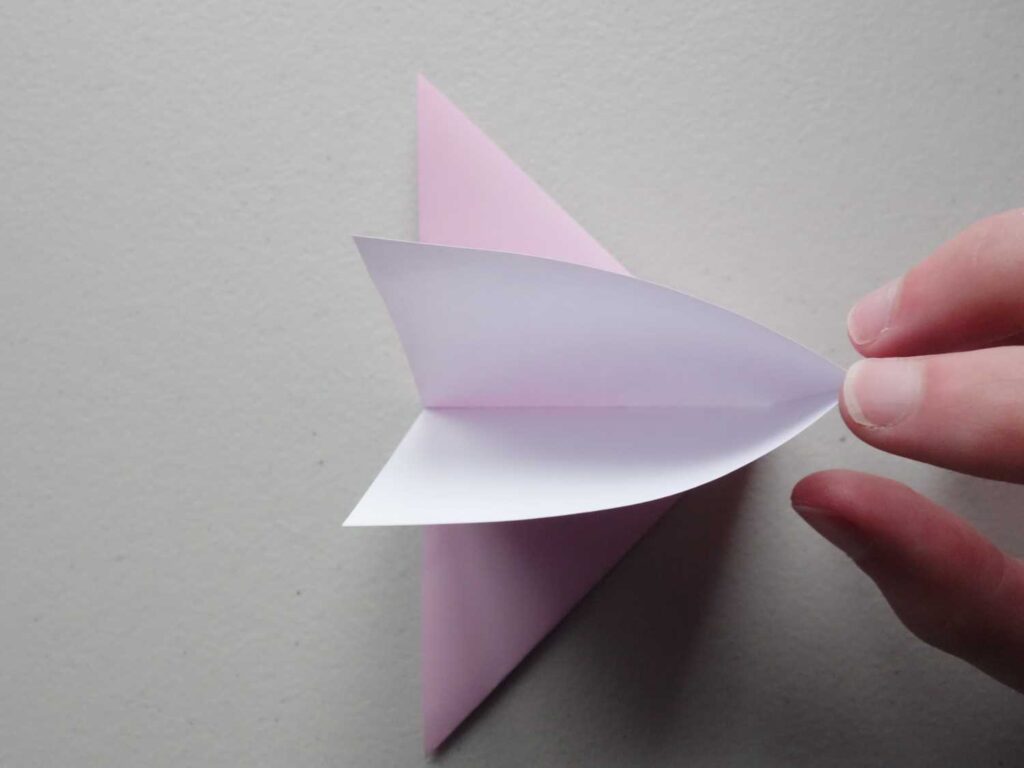
Take the left half of the folded triangle and open it out (the pocket)

Lift up this triangle so it points into the air, and open out the pocket.

Square fold (unfold version)
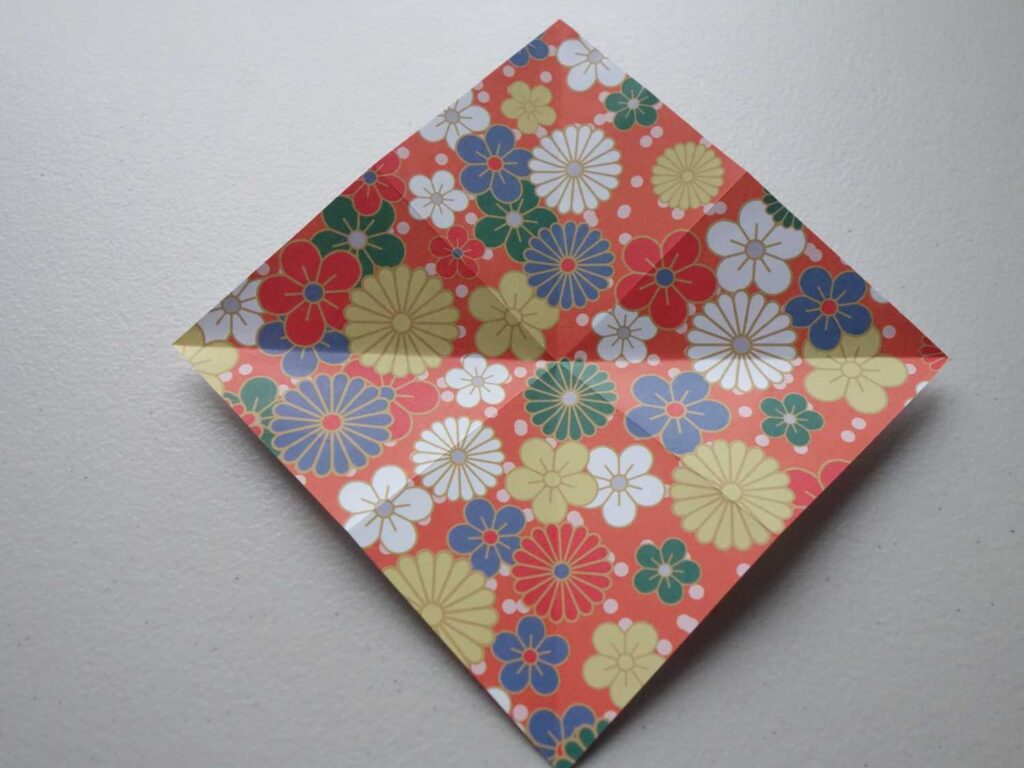
This is the second variation of the Square fold and achieves the exact same outcome. Try both and see which one you find easier or more comfortable.
Start with the paper white side up.

Unfold again and flip the paper over pattern side up.

Pick up by the diagonal creases and proceed to collapse the sides.

Triangle fold
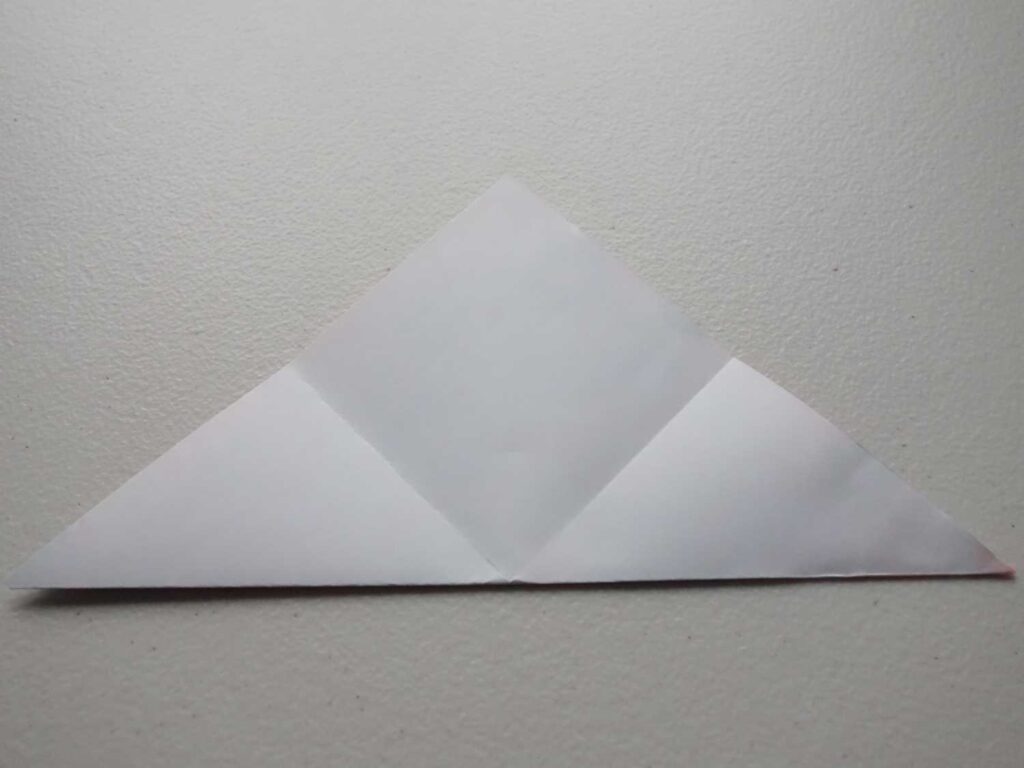
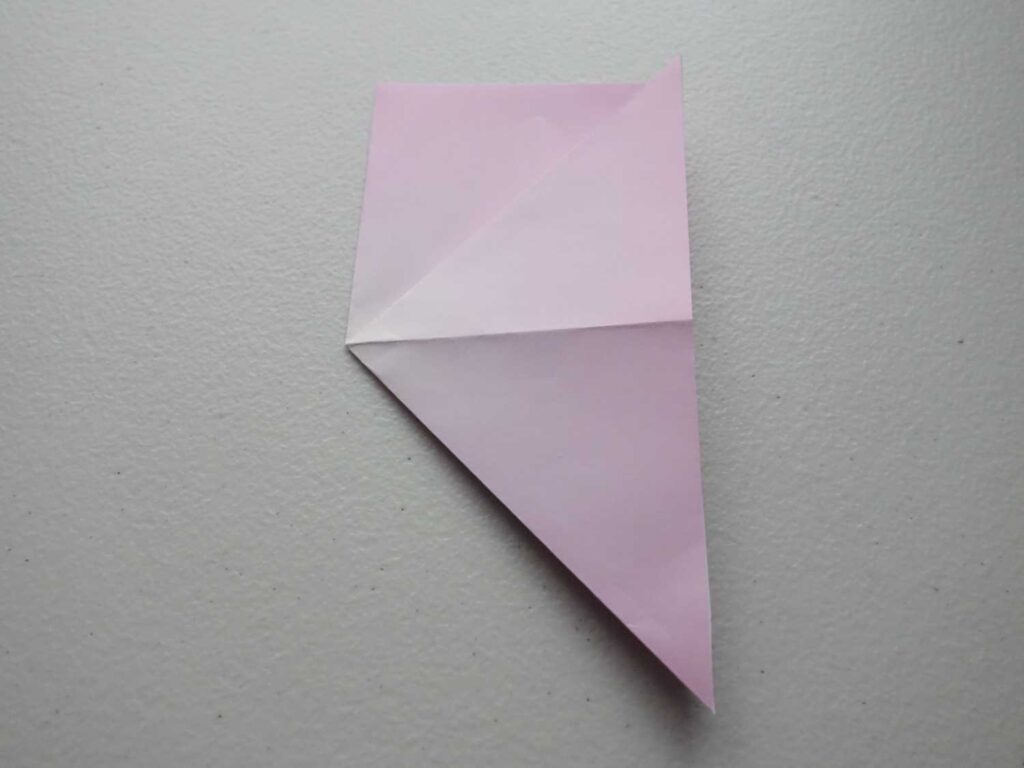
The triangle fold uses very similar techniques to the Square fold (pocket version). It forms a different style base required by other models.
Start with the paper white side up.

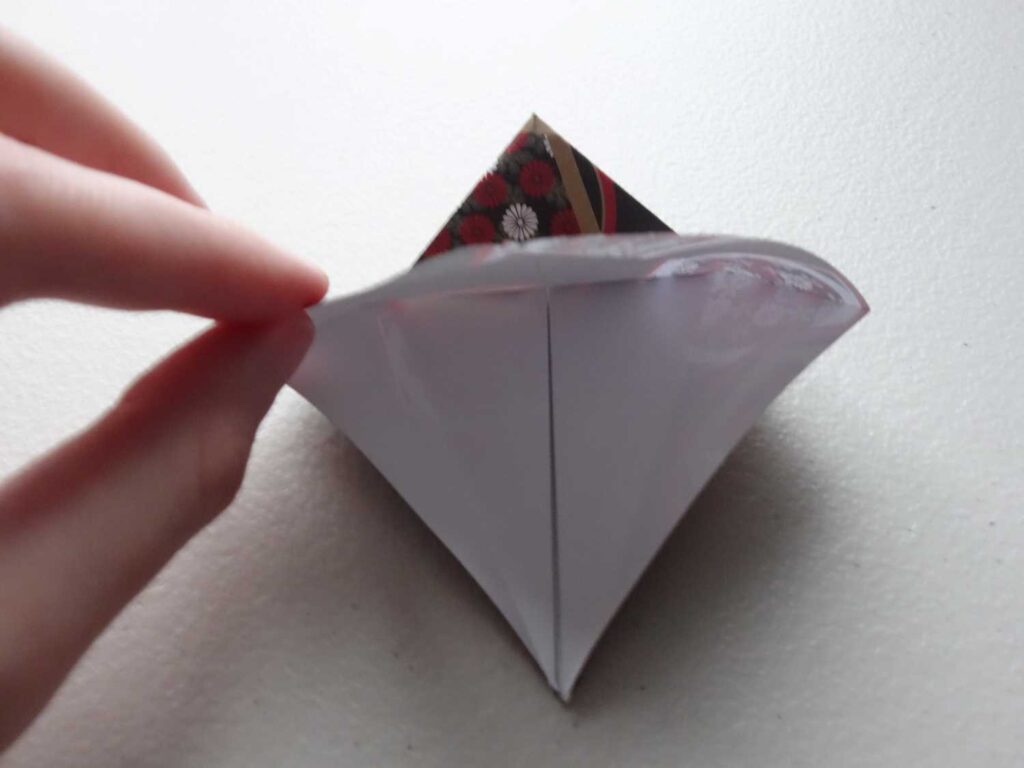
Lift the folded square just created and open it its pocket.

Once again, flatten straight down

Origami designs
Crane/Orizuru
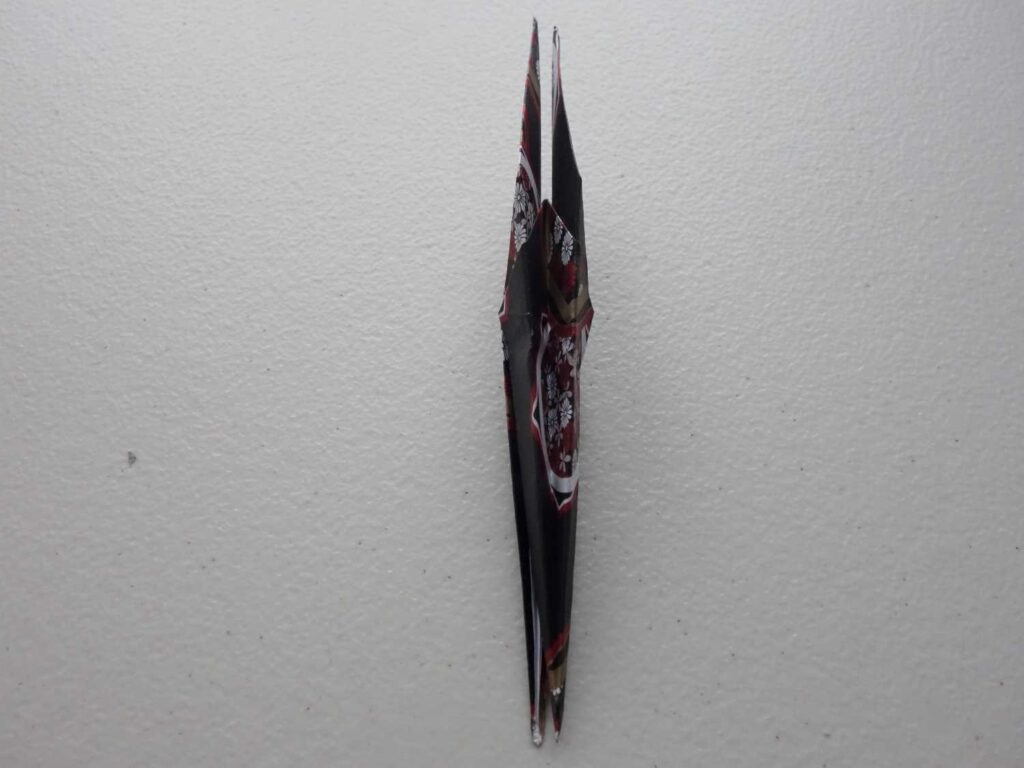
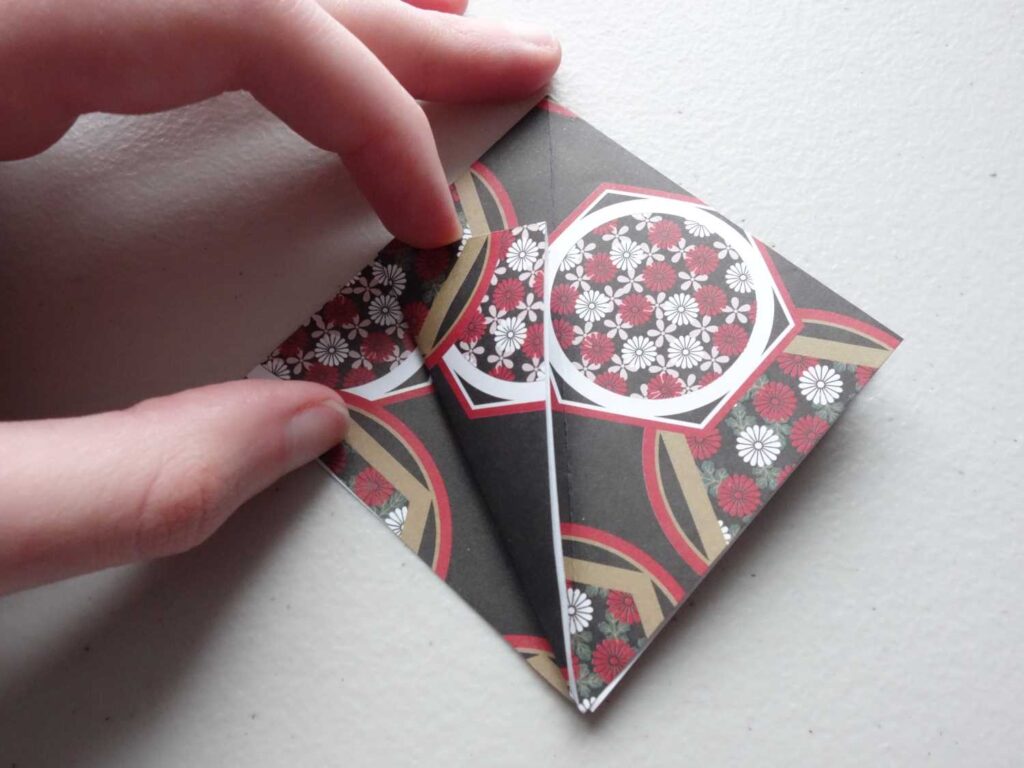
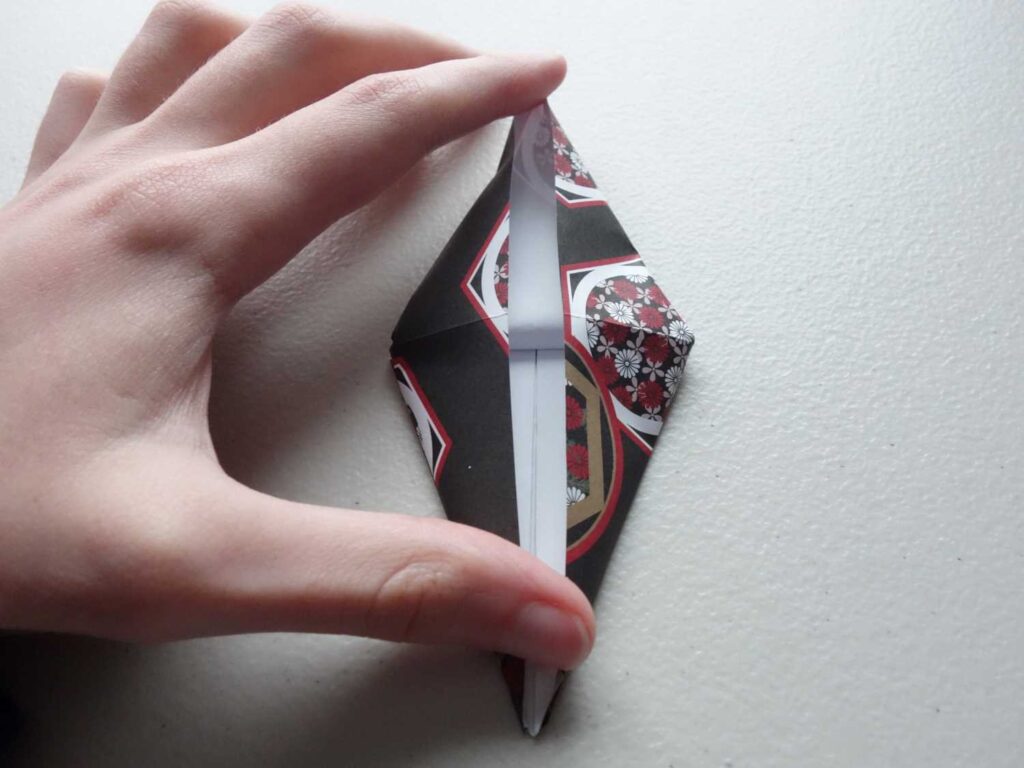
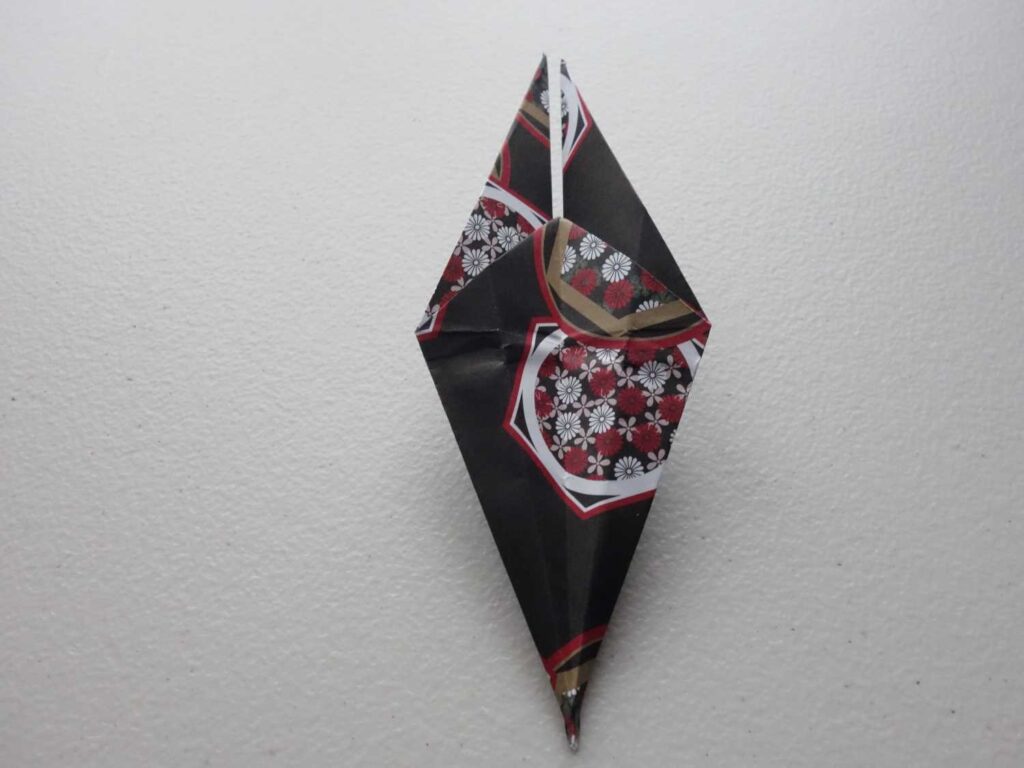
To help get you creating as soon as possible, here is a guide to perhaps one of the most iconic origami designs — the Japanese crane. This is a fairly easy design with one or two fiddly steps that require a little bit of wiggling to get right. Overall it should provide enough of a challenge in the beginning to keep things interesting.
Fun fact; it is said if you make 1000 cranes your wishes come true. I only need another 984.
As always, be sure to click on the image to see a bigger picture.
Conclusion
Origami is an easily accessible Japanese craft that has expanded far from its roots. Although it is easy to pick up and get started, the Japanese traits of precision and a measured approach often seen in their crafts, also apply to the art of paper folding.
With some of the basic definitions and folds under your belt, you should be in a good position to branch out and discover more Origami designs and knowledge on your own. Just remember to keep working on that crane count.
Nathan

